
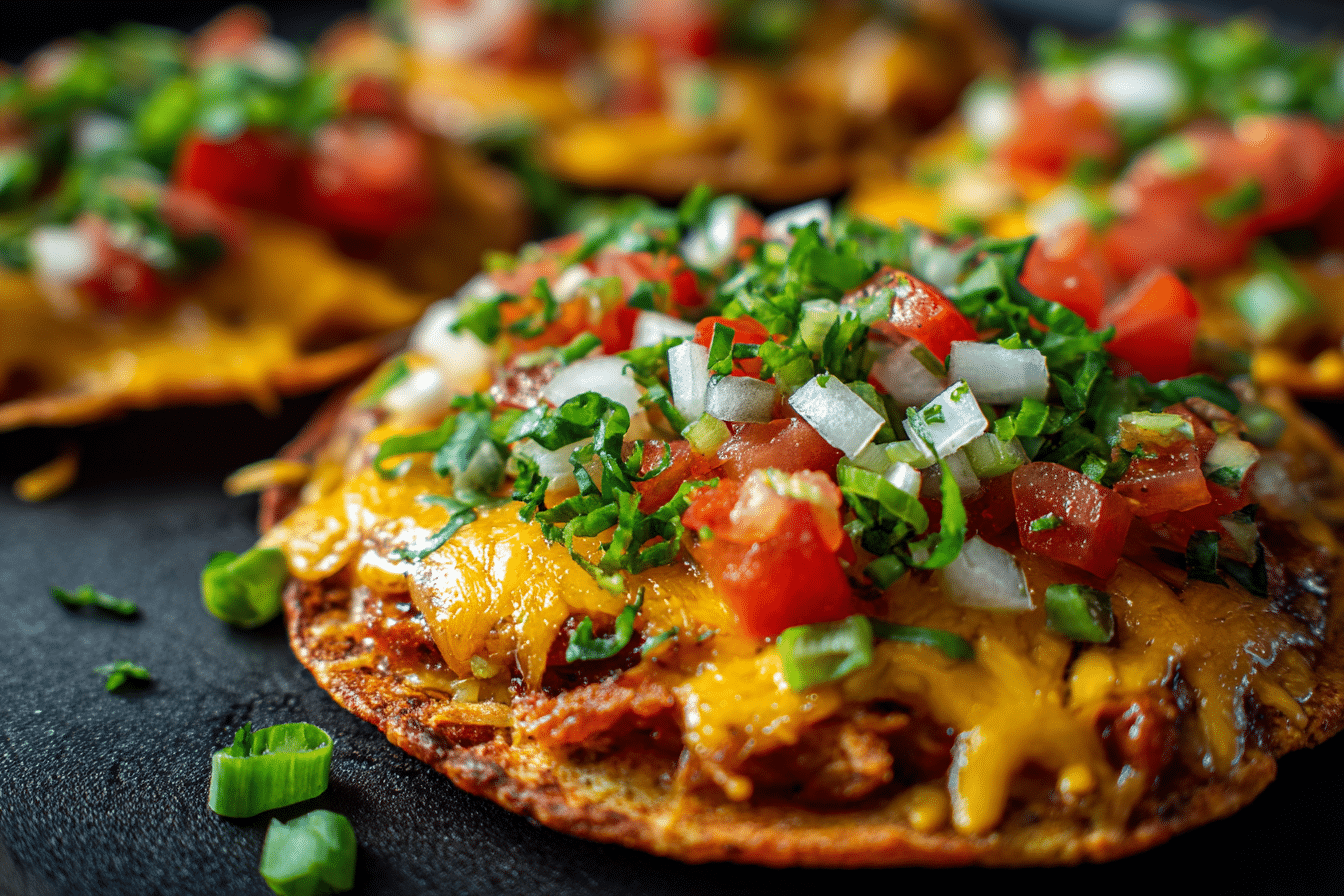
Taco Bell’s Mexican Pizza was a cult favorite for good reason—crispy tortillas layered with seasoned beef, refried beans, zesty sauce, and melty cheese. It’s the ultimate fast-food fusion of Tex-Mex comfort and pizza indulgence. While it disappeared from menus for a while, fans clamored for its return—and now, you can make an even better version at home.
This Copycat Taco Bell Mexican Pizza recipe captures everything you love about the original, but with fresher ingredients and the bonus of customizing to your taste. Think crunchy shells, a savory filling, tangy taco sauce, and a golden cheese topping—all baked to perfection in under 30 minutes.
Whether you grew up ordering it late at night or you’re just discovering it now, this homemade version is a fun, quick meal the whole family will crave.
Ingredients Overview
Creating a homemade Mexican Pizza is surprisingly simple with basic pantry and taco-night staples. Let’s break it down:
-
Flour Tortillas: The crispy base and top “crust” of the pizza. Use 6-inch size for individual servings. For extra crispiness, fry or air-fry before assembling.
-
Ground Beef: The classic Taco Bell-style protein. Choose 80/20 beef for juiciness, or go leaner if you prefer.
-
Taco Seasoning: Use store-bought or a homemade mix with cumin, chili powder, paprika, garlic powder, onion powder, and oregano.
-
Refried Beans: A creamy, hearty layer that helps hold everything together. Canned or homemade both work—warm them up to make spreading easier.
-
Taco Sauce: Tangy, slightly spicy, and essential for recreating the Taco Bell flavor. Brands like Ortega or Taco Bell’s own bottled sauce work well, or use salsa as a substitute.
-
Shredded Cheese: A blend of cheddar and Monterey Jack melts beautifully. Pre-shredded saves time, but freshly grated cheese gives the best melt.
-
Tomatoes: Diced fresh tomatoes add brightness on top.
-
Green Onions or Olives (Optional): Traditional toppings that add color and flavor contrast.
Ingredient Tips & Swaps
-
Vegetarian Option: Skip the beef and double up on beans, or use seasoned lentils or plant-based crumbles.
-
Dairy-Free: Use dairy-free cheese alternatives; meltability may vary, so bake a little longer.
-
Low-Carb: Swap tortillas with low-carb wraps or baked zucchini slices for mini versions.
-
Spicy Version: Add jalapeños or use hot taco sauce for a kick.
Step-by-Step Instructions
This recipe comes together in layers—just like a pizza—starting with crispy tortillas and finishing in the oven.
1. Prepare the Ground Beef
In a skillet over medium heat, cook the ground beef until no longer pink. Drain excess fat. Add taco seasoning and a splash of water. Simmer until thickened and flavorful. Set aside.
2. Crisp the Tortillas
To get that signature crunch, lightly fry each tortilla in oil for 1–2 minutes per side until golden and crisp. Drain on paper towels.
Alternative: Spray with cooking oil and bake at 400°F for 5–7 minutes per side, or air-fry at 375°F for 4–5 minutes until crisp.
3. Warm the Refried Beans
Warm the beans in a small saucepan or microwave to make them spreadable. This step makes assembly easier and more even.
4. Assemble the Pizzas
Lay one tortilla on a lined baking sheet. Spread with a layer of warm refried beans, followed by a layer of seasoned ground beef.
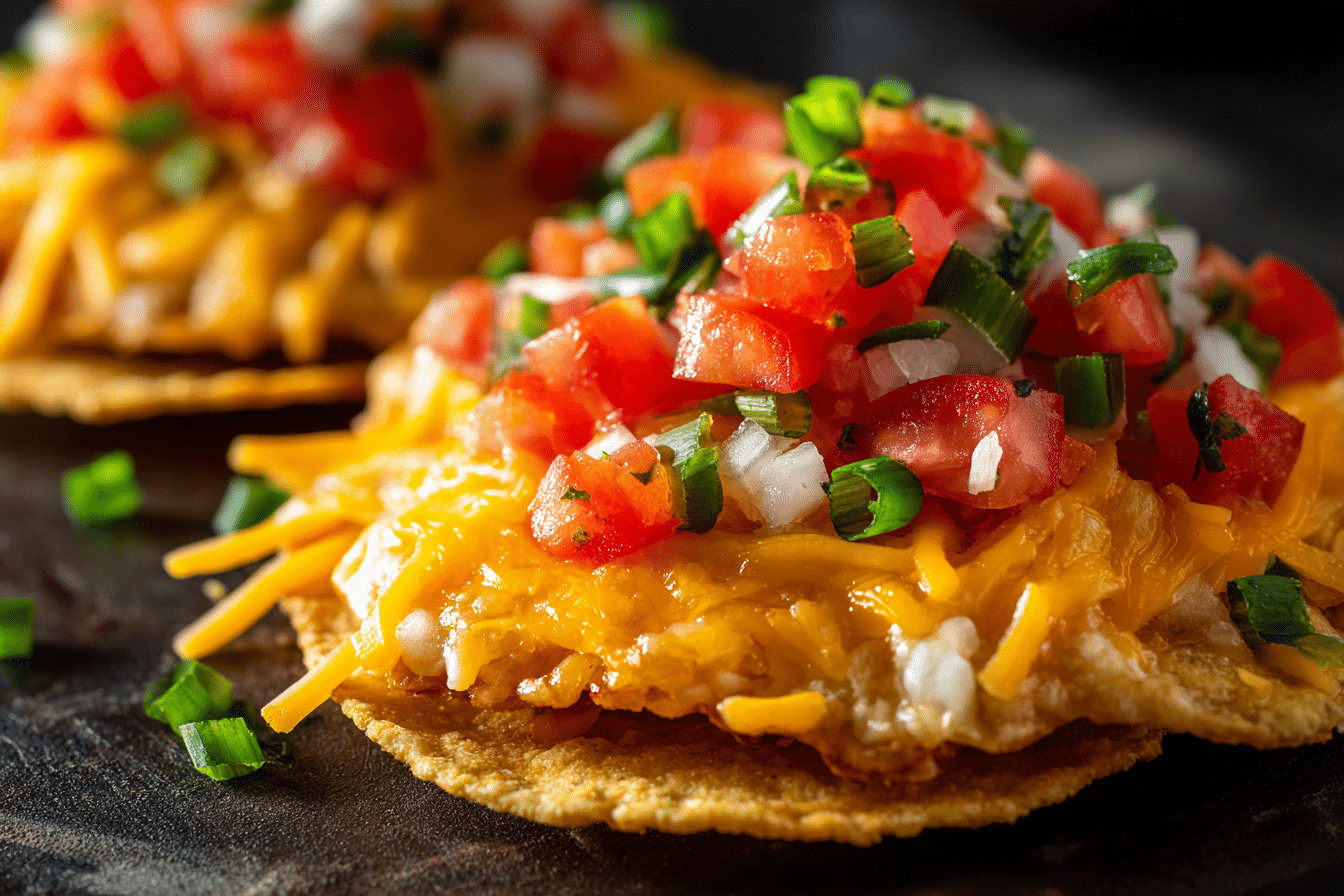
Top with another tortilla. Spread taco sauce across the top (2–3 tablespoons per pizza). Sprinkle generously with shredded cheese and diced tomatoes.
5. Bake to Melt the Cheese
Place the assembled pizzas in a preheated 400°F oven and bake for 8–10 minutes, or until cheese is melted and bubbly.
6. Garnish and Serve
Top with chopped green onions, black olives, or jalapeño slices if desired. Slice into quarters using a sharp knife or pizza cutter and serve hot.
Tips, Variations & Substitutions
This recipe is highly adaptable, so make it your own:
-
Add Layers: Add a layer of nacho cheese or sour cream between tortillas for more richness.
-
Sauce Upgrade: Mix taco sauce with a little enchilada sauce for extra flavor depth.
-
Mini Pizzas: Use street taco-sized tortillas to make appetizer-friendly versions.
-
Gluten-Free: Use corn tortillas or gluten-free flour tortillas—just note that corn tortillas are smaller and slightly less crisp.
Cultural Note
While not a traditional Mexican dish, the Mexican Pizza was designed for American fast-food lovers seeking Mexican flavors in a familiar format. It’s a unique blend of Tex-Mex convenience and pizza-inspired fun that became a nostalgic favorite.
Serving Ideas & Occasions
Mexican Pizza is great as a main dish or party food. Serve it with:
-
Mexican rice or street corn for a full meal.
-
Chips and guacamole as a side or starter.
-
Cold drinks like horchata, limeade, or Mexican sodas for balance.
-
Game day spreads — slice into wedges and serve alongside tacos or nachos.
It’s perfect for movie nights, casual dinners, or feeding picky eaters in a fun way.
Nutritional & Health Notes
This dish is indulgent by design—crispy, cheesy, and loaded. But you can lighten it up:
-
Use baked tortillas instead of fried.
-
Go lean on the beef or swap in beans or turkey.
-
Choose low-fat cheese or reduce the quantity.
-
Add more veggies on top for color and nutrients.
A single Mexican Pizza averages around 400–500 calories depending on toppings, tortilla type, and cheese amount. One is filling, but they’re easy to cut in half or share.
FAQs
Q1: Can I make Mexican Pizza ahead of time?
A1: Yes! You can prep the beef and beans ahead. Store components separately, then assemble and bake when ready. Reheat assembled leftovers in a 350°F oven for best texture.
Q2: Can I freeze these?
A2: It’s best to freeze the filling components separately. Assembled Mexican Pizzas can get soggy when thawed, but reheated crisp tortillas can still be enjoyable.
Q3: How do I make this vegetarian?
A3: Use only refried beans or add seasoned lentils or meatless crumbles. Many store-bought taco seasonings are vegetarian-friendly.
Q4: What’s the difference between taco sauce and salsa?
A4: Taco sauce is smooth, tangy, and mildly spiced—closer to a seasoned tomato purée. Salsa usually has a chunkier texture and fresh ingredients like onion and cilantro.
Q5: Can I use corn tortillas?
A5: You can, but they’re smaller and won’t get quite as crispy unless baked or fried thoroughly. Use extra tortillas if needed to adjust serving sizes.
Q6: How do I keep the tortillas from getting soggy?
A6: Crisp them well before assembling. Avoid overloading with sauce and bake just until the cheese melts to preserve crunch.
Q7: What toppings go best on Mexican Pizza?
A7: Diced tomatoes, green onions, black olives, pickled jalapeños, or a drizzle of sour cream all work well. For a twist, try avocado slices or cilantro.
PrintCopycat Taco Bell Mexican Pizza – Crispy, Cheesy, and Flavor-Packed
A crispy, cheesy, and flavor-packed homemade version of the iconic Taco Bell Mexican Pizza—made fresh and fast in your own kitchen.
Ingredients
-
1 lb ground beef
-
1 packet taco seasoning
-
1 can (16 oz) refried beans
-
8 small flour tortillas
-
1 cup shredded cheddar cheese
-
1 cup shredded Monterey Jack cheese
-
1 cup taco sauce
-
1 cup diced tomatoes
-
Optional: green onions, olives, jalapeños, sour cream
Instructions
-
Cook beef in a skillet over medium heat. Drain, add taco seasoning and water, and simmer until thick.
-
Crisp tortillas in oil (or bake/air-fry) until golden.
-
Warm refried beans until spreadable.
-
On a baking sheet, layer: tortilla, beans, beef. Top with a second tortilla.
-
Spread taco sauce over top, sprinkle with cheese and tomatoes.
-
Bake at 400°F for 8–10 minutes until cheese melts.
-
Garnish and slice into quarters. Serve hot.
Notes
-
Add sour cream, avocado, or hot sauce for extra flavor.
-
Make vegetarian by replacing beef with beans or lentils.
-
Store leftovers in the fridge up to 3 days; reheat in the oven.